
This article will guide you through the process of creating a booking form on Edcommerce, so you can start getting leads and bookings in no time!
First, you'll have to open your to your Edcommerce site settings > Edcommerce > Booking form.
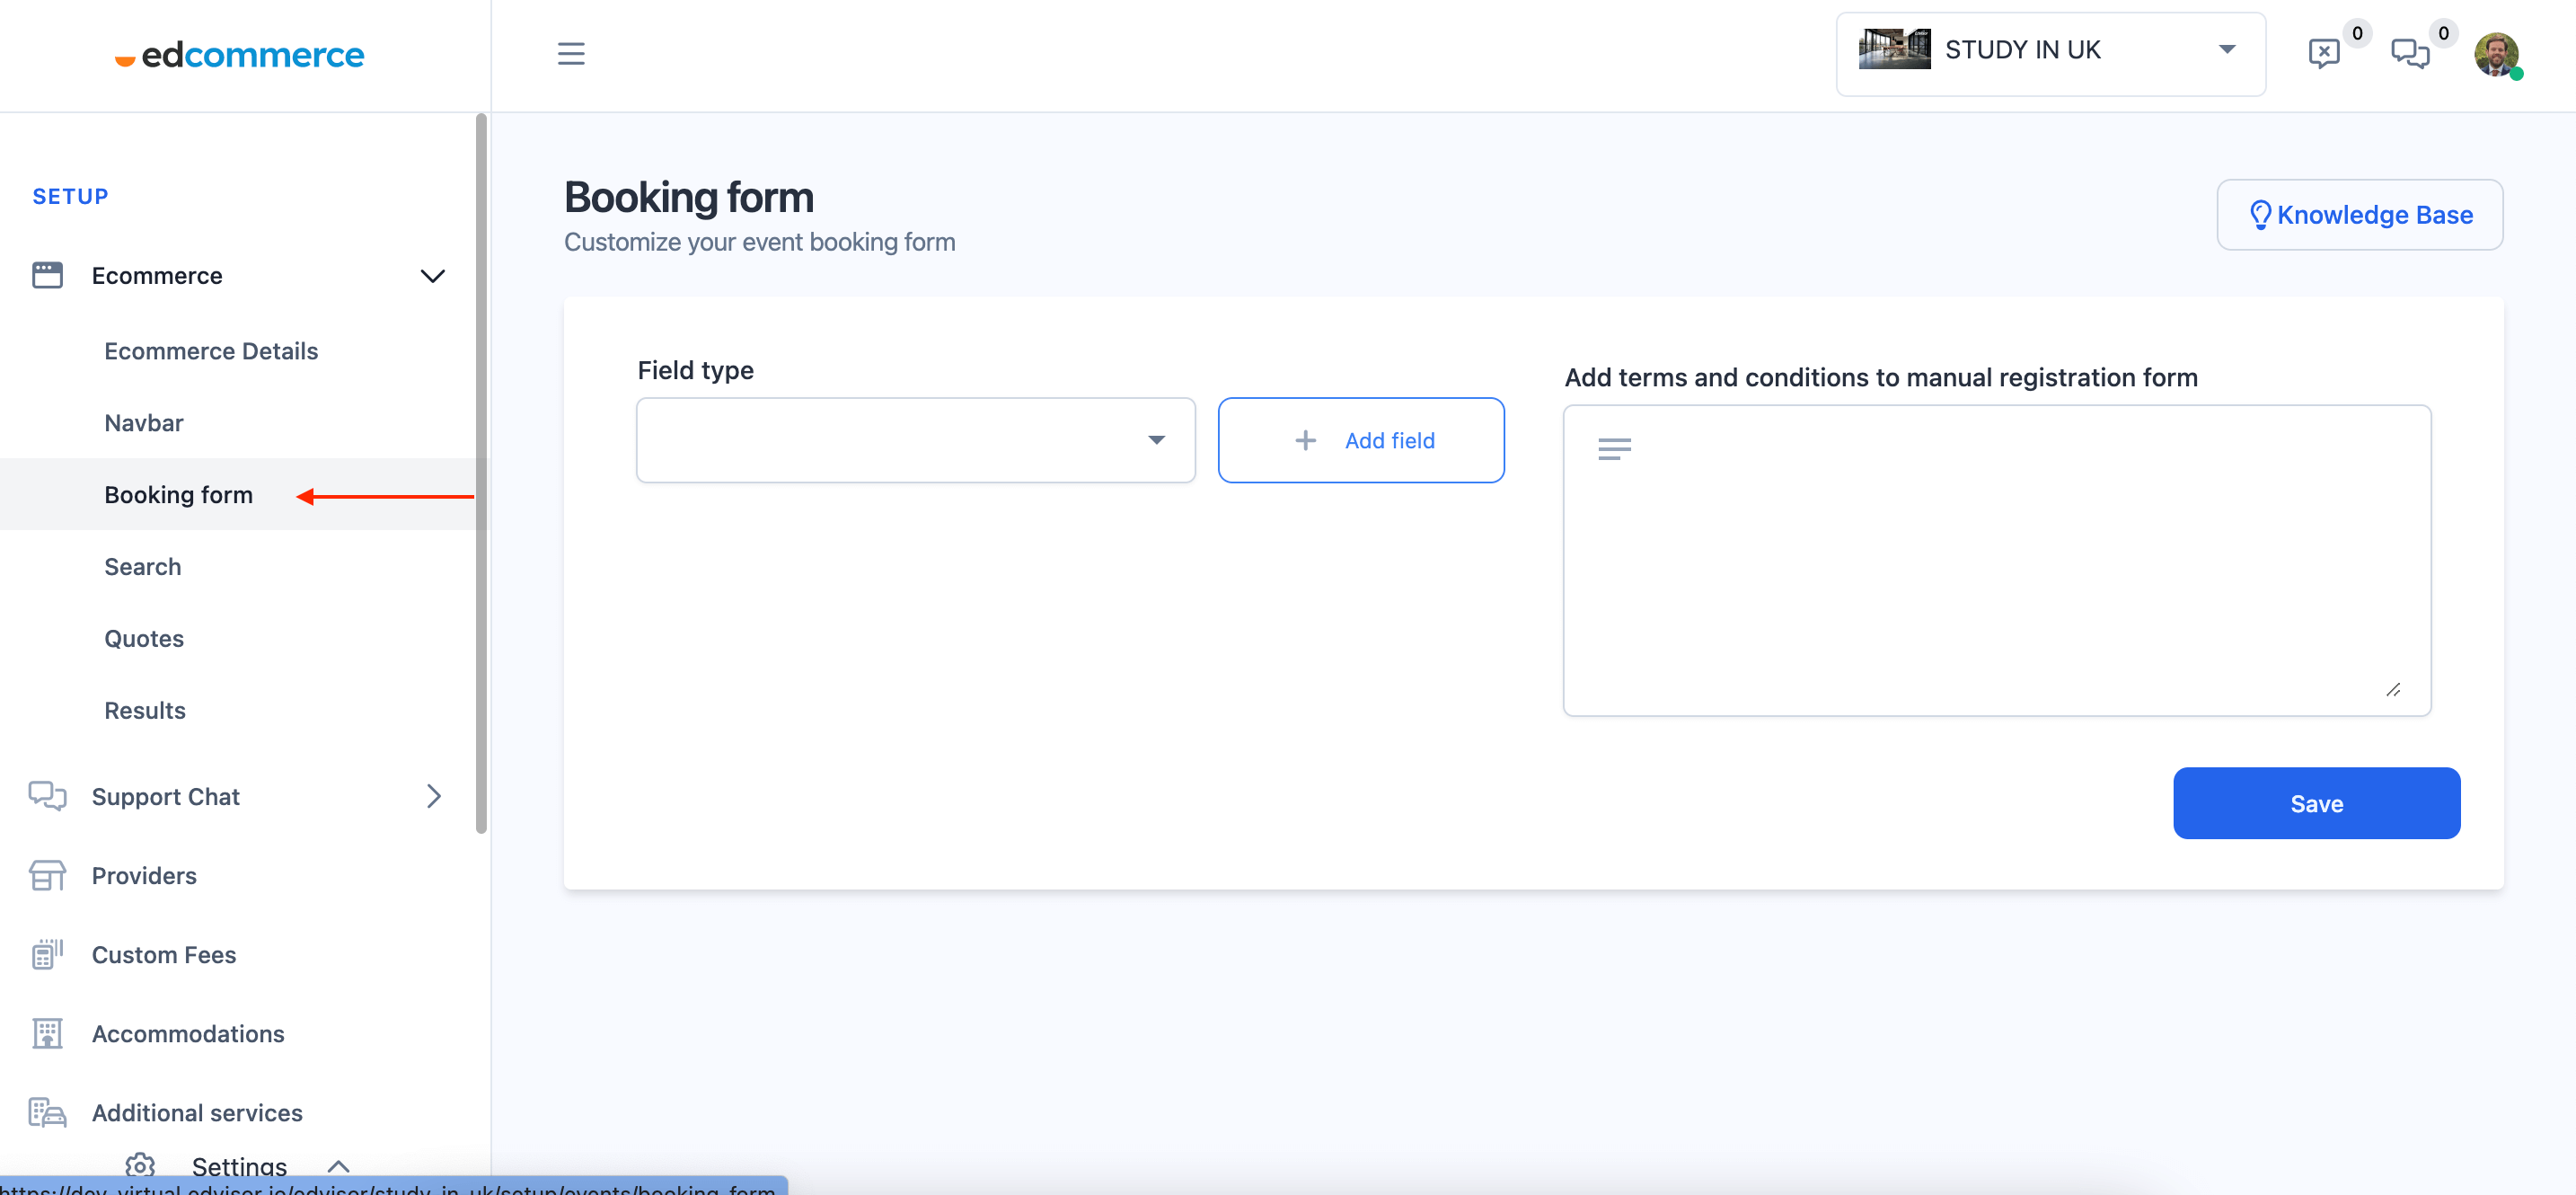
You'll find the following fields created by default:
- First Name
- Last Name
- Phone
Add fields to your booking forms
⚠️ You must connect an Edvisor account to your EdCommerce in order to add new custom fields to your forms.
First, add your custom forms to your Edvisor account.
Once the forms are created, your entire list of fields will automatically synchronize with EdCommerce. Then, simply select the fields you wish to add to your booking form and click save.
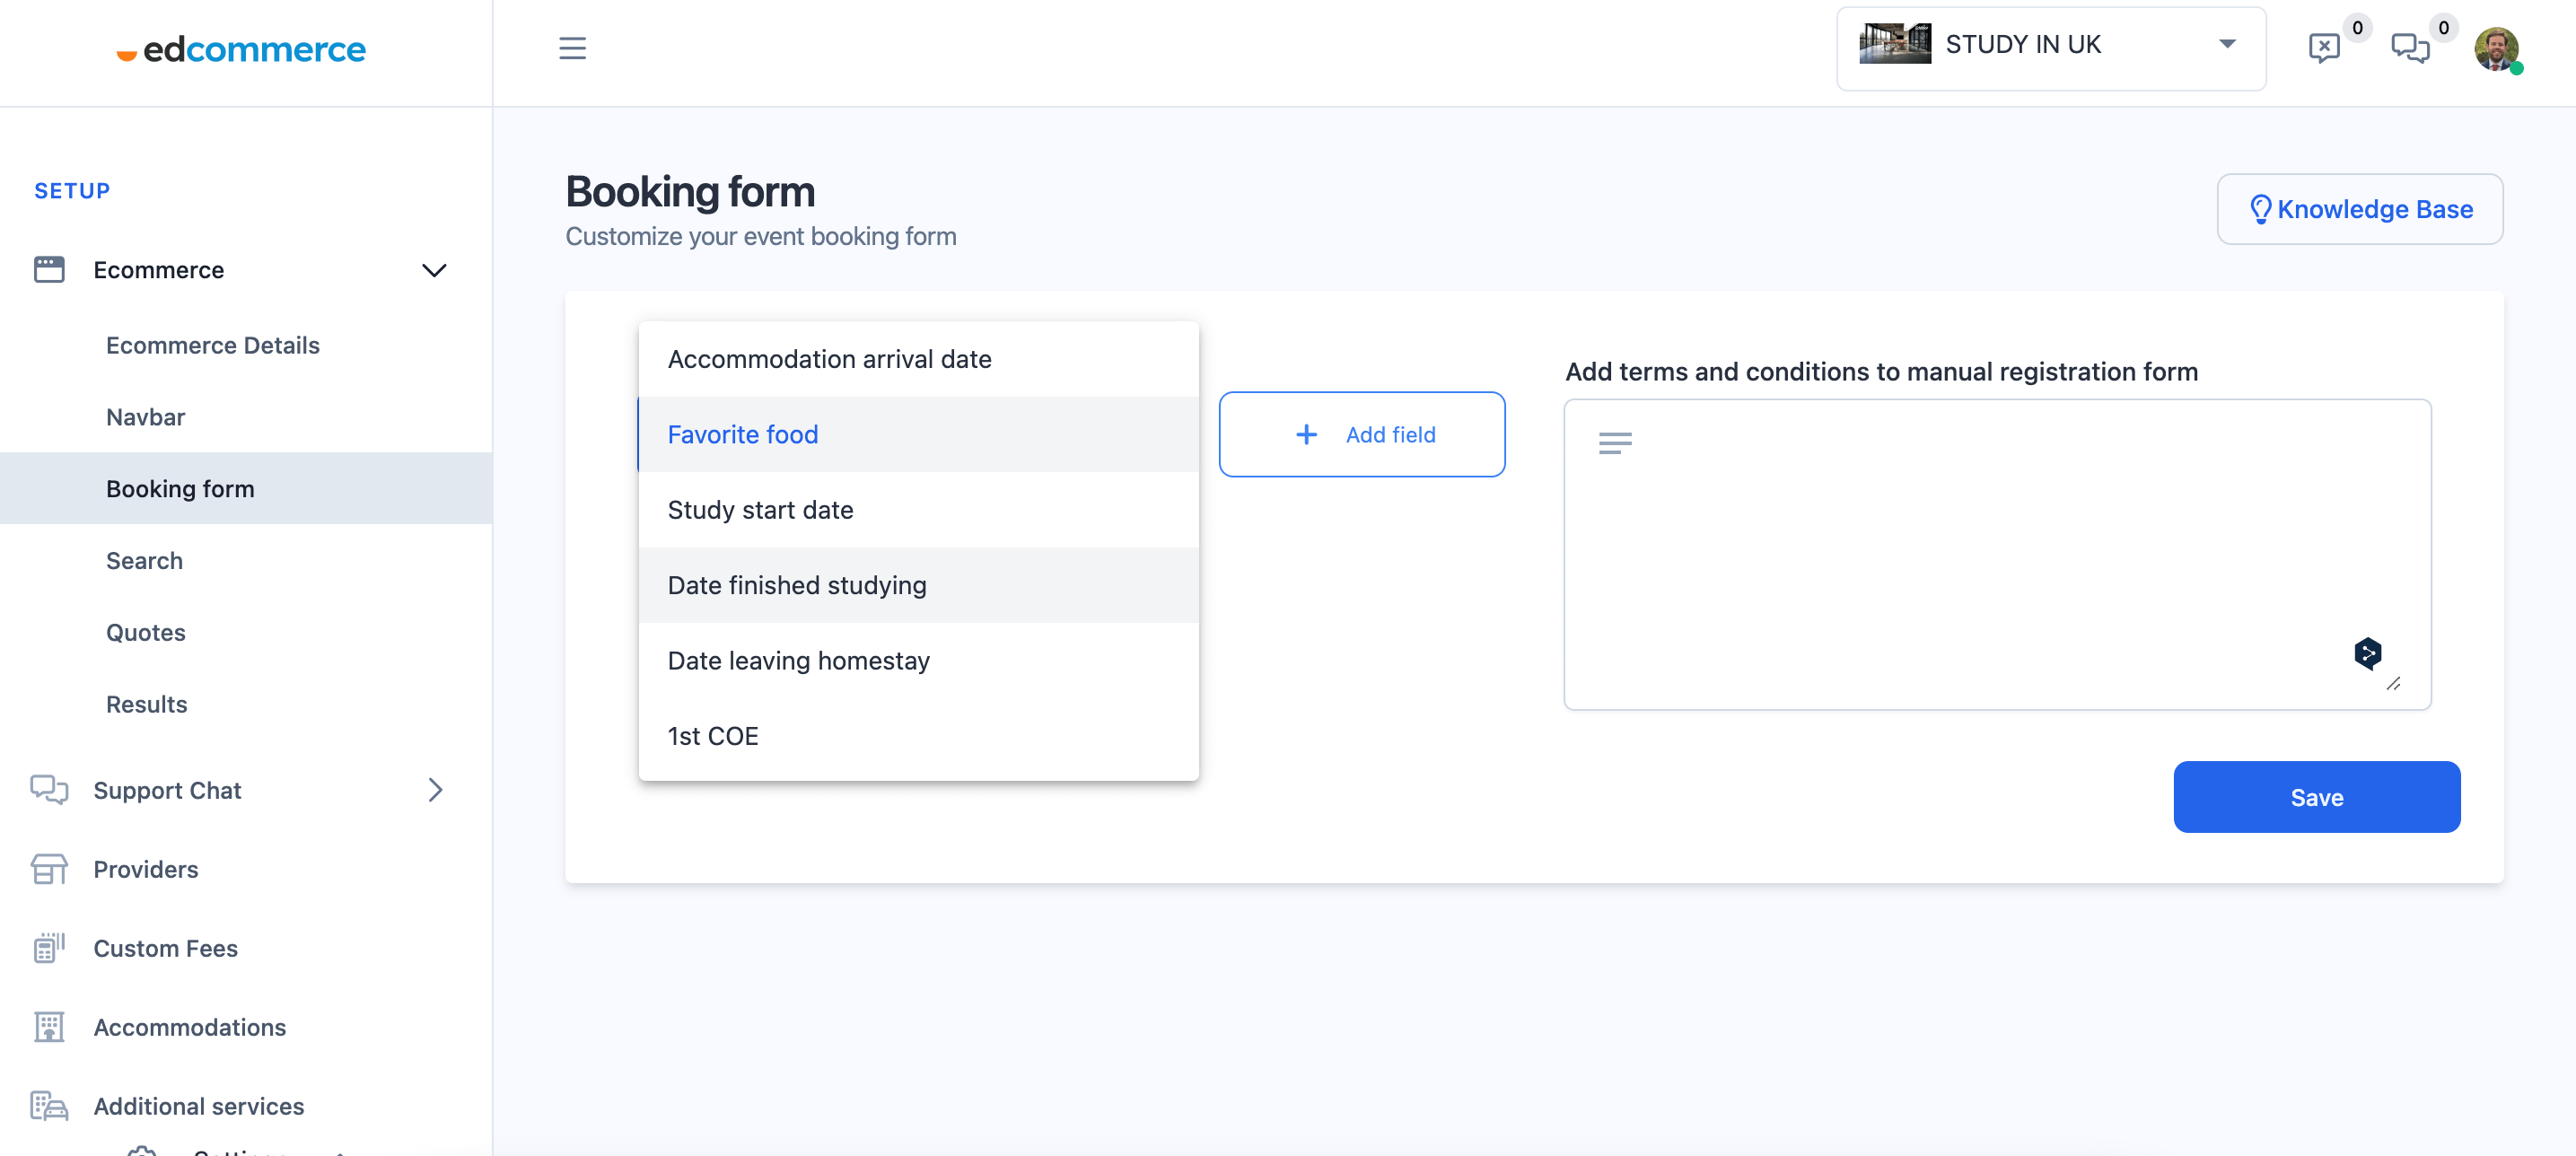
For example, if you want to add a field for English level, simply click on "English Level," then click "Add Field."
After selecting the fields, you will see a list of your chosen ones. You can rearrange their order on the form by dragging them up or down.
Once you have added all the desired fields, click "Save."
Now, when a student makes a booking through your EdCommerce site, they will be prompted to complete the fields you added. This streamlines the process of gathering the essential information needed to deliver top-notch service to your clients.