
In this article, we'll show you how to group your providers under companies, so you can easily manage and organize them on your online store.
Are you struggling to manage all your providers on Edcommerce? Do you need a better way to organize them? If so, grouping your providers into companies could be the solution you're looking for!
Companies on Edcommerce can be anything you need to organize your providers. For example, a company could be "Language schools in Australia."
In this article, we'll guide you through the process of creating a new company and assigning providers. Follow these step-by-step instructions, and you'll see how easy it is to keep your providers organized!
Create a "company"
First, go to your Edcommerce site's settings section, and select the "Companies" button.
Then, click on "Create Company." Give your company a name, such as "Canada" and upload a logo to represent it.
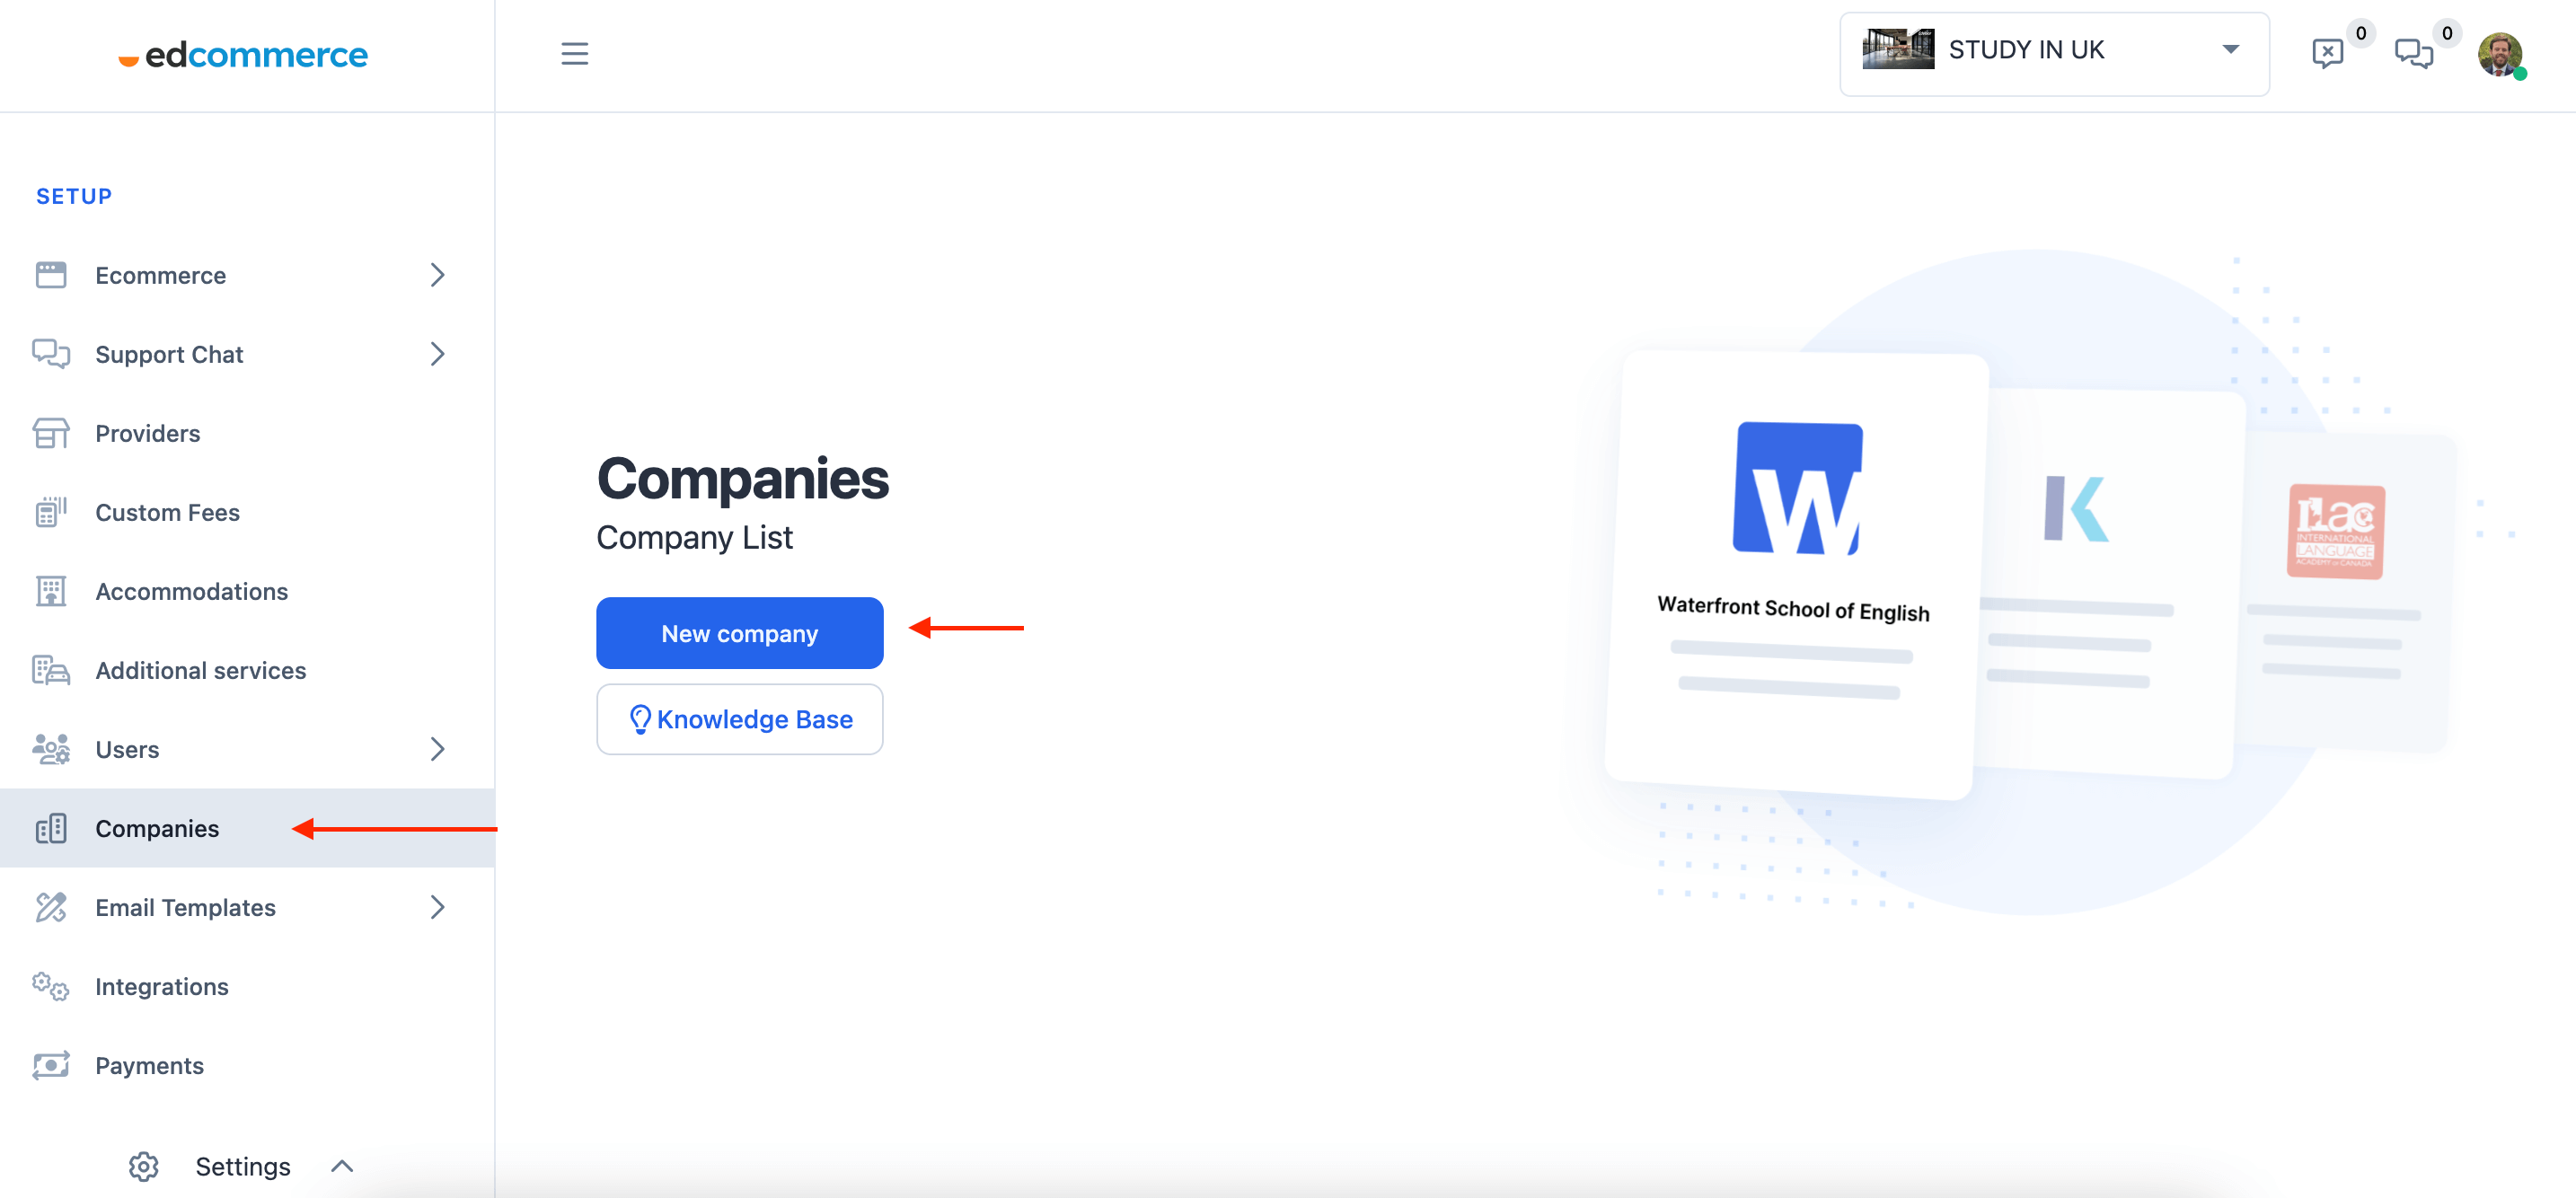
Once you've created a company, you'll see it listed along with any other companies you've created. You can toggle companies on and off and edit their names and logos as needed.
Add providers to your company
Now, let's add some providers to the new company. Click on "Assign Provider" and select the provider(s) that meet your criteria from the list on the right. This list is generated based on the active providers you set for your site.

By grouping your providers into companies, you can manage them more efficiently and effectively. You'll be able to find the information you need more quickly, and your students will have an easier time browsing your online store!