
Learn how to modify the menu of your online store for better navigation.
The navigation bar, often referred to as the navbar, serves as the menu for your EdCommerce site. It enables students to effortlessly access the various sections of your site.
In this article:
- How to hide or unhide items in your menu
- How to organize the items on your menu
- How to add new items to your menu.
- How to add a link to your site's logo
🔹 To edit your site's menu, navigate to the settings page > EdCommerce > Navbar.
Here, you'll find the following pages by default:
- Search
- Quotes
- Contact
In this article we will show you how to hide/unhide these pages, how to organize them, and how to add new items ⬇️
How to hide or unhide items in your menu.
In the 'Navbar' section of your EdCommerce settings, you'll find a list of all available elements (or pages) for your navigation bar.
It's up to you whether these elements appear on your menu. To show or hide them, just switch them on or off. This action will add or remove the items from your website's menu, respectively.
How to organize the items on your menu.
Organizing the pages in your menu is very straightforward with the drag-and-drop feature. Simply click on the items (pages) you want to rearrange, and then drag them to their desired position in the menu.
Additionally, you can create a more organized and user-friendly menu by grouping related pages together. This is done by adding sub-elements under a main menu item.
To achieve this, click and drag a page you want to group and hover it over the main menu item where you want it to be a sub-element. Release the mouse button to drop it there, effectively grouping it under the selected main item.
Remember, these changes will be reflected on your website's navigation, making it easier for visitors to find what they're looking for.
How to add new items to your menu.
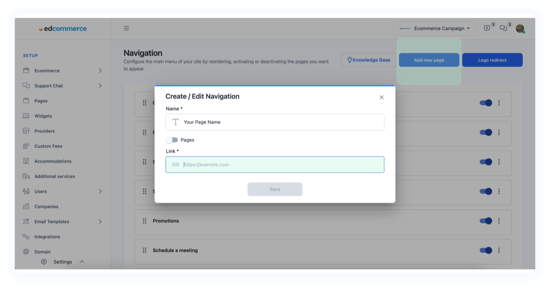
To add a new item to your menu, click on the button 'Add New Page.'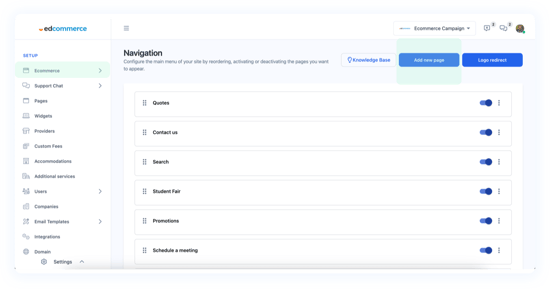
Then enter the title and specify the page it should direct to.
- You have the option to include a URL and link to an external webpage.
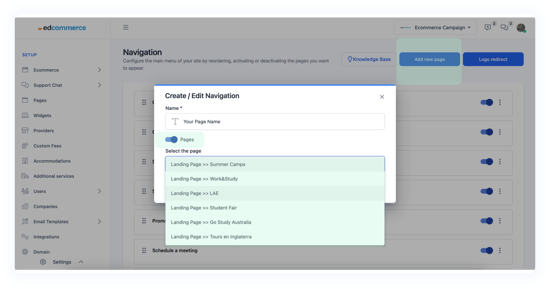
- Alternatively, you can click on 'Pages' to choose from the existing pages of your EdCommerce site, conveniently listed for you.
Once you've made any changes to your navbar, be sure to click "Save".
How to add a link to your site's logo
At the top of the navigation page, you'll see the button 'Logo Redirect.'
By clicking on it, you can add a custom link for when people click on your EdCommerce site's logo.
💡We recommend that you either link it to your website's homepage or your EdCommerce site's homepage.
By following these simple steps, you can effortlessly create a customized menu for your site, featuring drop-down options for optimal organization of your information.

💡 To view these changes, click on the EdCommerce logo at the top left corner of your screen, then select 'EdCommerce Preview'.