
Learn how to set up the support chat to start engaging with your website visitors in real-time.
Providing exceptional customer support is crucial to the success of your business. One of the most effective ways to provide customer support online is through a live support chat.
By having a support chat, you can answer your students' questions and provide assistance in real-time.
In this article...
Step 1: Access the Support Chat Settings
The first step is to access the support chat settings.
Simply go to Settings > Support Chat
*You already set some of this information when you created your site but in this section, you'll finish customizing it.
Step 2: Customize your Support Chat
When you pull down the support chat menu option, you will see 3 sections:
Style
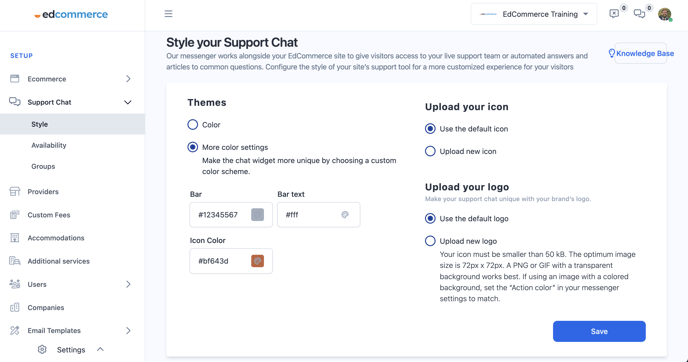
Under "Style," you'll be able to customize the appearance of your support chat.
- Colors: You can choose one of our default colors or select a custom hex color (colors with a code like #DFS344).
- Chat Icon: Use the default chat icon or upload your own.
- Chat Logo: Use our default logo or upload your own.
Availability
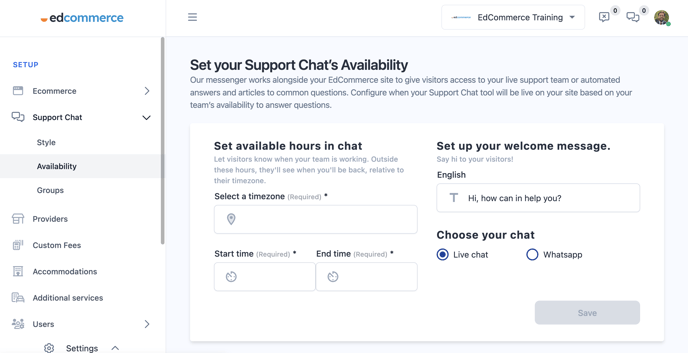
In the availability section, you can manage your support chat availability, set a welcome message, and select the type of chat you want to use.
- Available hours: First, you can pick the hours you'll be available and your timezone. If students try to contact you outside these hours, they'll see that you're unavailable and be informed when you'll be back (displayed in their own timezone to avoid confusion).
- Welcome Message: This message will be shown to students when they open the chat. Give them a warm introduction or any essential information!
- Chat Type: You can select between the EdCommerce chat or WhatsApp, whichever suits your preferences and needs best.
Groups
In the "Groups" section, you can customize who from your team should respond to the chat inquiries based on the provider or the section of your site.
- Create your group/s: Click on "Create Group Team" and then click on "New Team Group."
- Add your team members: Add all the team members that you'd like to include together with their names.
Make sure you add your team members in order of priority, you can change the order just dragging and dropping their cards.
- Assign your group to the right place: Once created, click on the 3 dots icon to edit the group members, delete the group, or assign it to a provider or section on your site.
By following these simple steps, you can fully set up your support chat and provide your students with the assistance they need in real-time. If you need further assistance or have any questions, don't hesitate to contact our team.